Fail-proof masala dosa batter
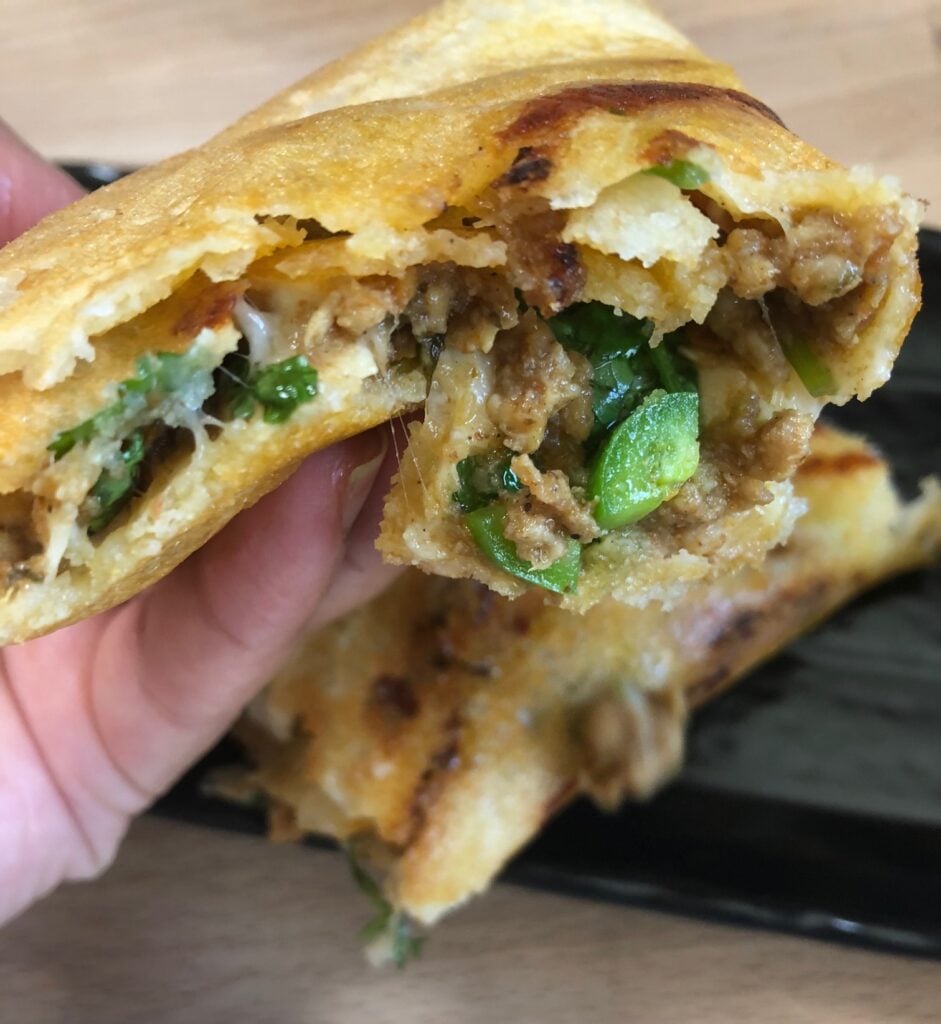
This is the best fail-proof kheema masala dosa batter recipe that I know of. A crispy gluten-free dosa that includes a spread of minced meat, fresh cilantro, jalapenos, and cheese makes this a drool worthy weekend meal. Lentils, fenugreek seeds, and rice comes together to make the perfect crispy dosa every single time-trust!

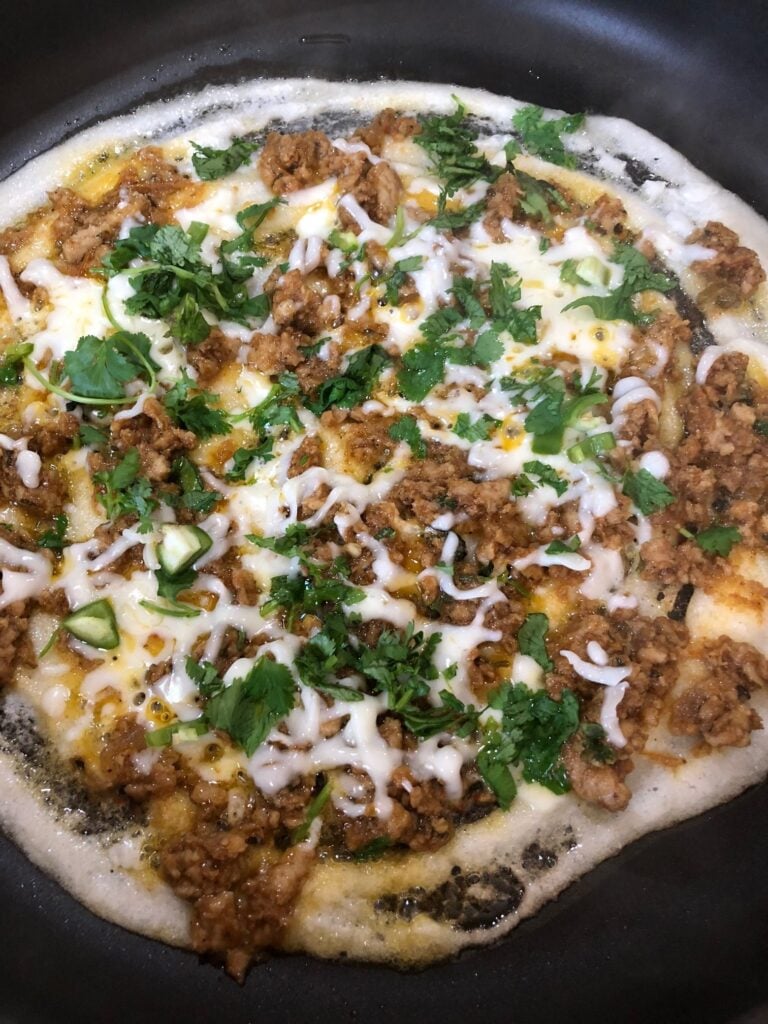
Chicken Kheema Dosa
You guys! This is down right GREAT food right here. Add it to your menu, because you will not be disappointed. The crunch, Indian spiced ground meat chicken kheema, plus the extra spices and cheese… OH MY!
Find my Chicken Kheema Recipe here
Fail-Proof Kheema Masala Dosa Batter
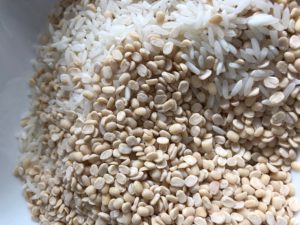
For the last 20+ years (yes, I have been cooking forever) I have made my own dosa batter at home with a 3:1 ratio jasmine rice:urad daal. I add a tablespoon of fenugreek seeds and let it all soak for about 6-8 hours.
After it has soaked, use a blender and puree the ingredients until it forms a very fine batter. I use a Blend Tec, but you can use any blender you have as long as it allows you to go super fine.
Pour the batter into an Instant Pot and use the yogurt feature for 8-12 hours to ferment the batter. This always works to help the batter ferment. Especially in colder weather and it’s just down right failproof dosa batter.
What type of rice to use for Dosa Batter?
Honestly, I use what I have on hand. I have made this recipe with jasmine rice and basmati rice. Jasmine rice has made better dosa but if I do not have any on hand, I will use basmati rice to make the batter and they still turn out good. I do not find the need to to purchase idli, dosa, or any other specialty rice just for dosa.
Can this batter be used for Idli?
You bet! Use 1 cup of batter with 1 tablespoon of eno when making the batter. It will yield fluffy idli every single time. This batter is very versatile and I love that about it!
My history with this fail-proof dosa batter recipe
All of these years I have always enjoyed making my own batter because it has never failed me. Have I tried anything new and different? Yes, but it just doesn’t come out the way I like so I end up going back yo my fail-proof masala dosa batter. If you are crunching on time, then Indian Grocery Stores now sell batter in the refrigerated section so be sure to check them out. My favorite touch includes, organic ingredients especially since I began my pregnancy journey.

How to make a crispy fail-proof masala dosa
My pro tips:
- Leave the batter at room temperature for 30 minutes.
- Add some salt, a pinch of sugar, and water to reach the consistency you like.
- Wash and cool down the dosa pan between each dosa with ICE cold water.
- Use butter instead of oil to get a crispy brown dosa versus one with an oily texture.
The Curry Mommy Dosa Parties
Back when I first started making dosa in middle school, we would always have dosa parties! My Dad was a huge fan of dosa and living in Little Rock, Arkansas it was not something readily available to go purchase. Because of that, I was able to gain a lot of practice when it came to making round/oval dosa. Throughout the years, I learned how to make different types of dosa that you should try as well.
Different types of dosa to try
- Cheese Dosa (very kid friendly)
- Thin Uttapam with tomatoes, onions, jalapenos, and cilantro.
- Kheema dosa with ground meat
- Egg Dosa with egg kheema
- Achar Dosa with Achar masala
- Deep Dry Garlic Chutney or Prakash Thecha Chutney


“The Works” Fail-Proof Masala Dosa
Kheema Masala Dosa Batter Recipe
📖 Recipe

Fail-Proof Kheema Masala Dosa
Ingredients
MASALA DOSA BATTER
- ▢ ¼ cup urud daal
- ▢ ¾ cup jasmine rice
- ▢ ½ teaspoon fenugreek seeds
- ▢ ¾ teaspoon sugar (add after the batter is complete)
- ▢ salt (add after the batter is complete), I add about ½ tbsp
- ▢ water
- ▢ dosa filling ingredients (cheese, kheema, cilantro, etc)
CHICKEN KHEEMA
- ▢ Recipe is linked below
Instructions
HOW TO MAKE THE DOSA
- Wash the fenugreek seeds, urud daal, and rice three times and then soak for about 6 hour in cold water.
- After about 6 hours, drain the water that was soaking the fenugreek seeds, lentils, and rice. DO NOT WASH, just drain the water it was soaking in.
- Using a belnder, such as a Blend Tec or Vitamix, blend the fenugreek seeds, urud daal, and rice mixture using just enough water to allow it to blend/mix. How much water to use? I fill the blender with water only to a point where half of the mixture is covered in water.
- Blend until the contents are very pureed and smooth to touch.
- Pour the batter in the Instant Pot and mix the batter with one of your hands for about 3-5 minutes. The warmth of your hand will help start the fermenting process.
- Now, close the Instant Pot lid, place it to sealing where no air comes out, and push the yogurt button. Set it to 12 hours.
- Check on the batter after 8 hours to see if it fermented. In some cases it may take an extra hour or so which is why I recommend setting the Instant Pot to 12 hours.
- Once fermented, you can add sugar and salt to the batter and immediately make dosa or refrigerate until you are ready to use it. Optional- add water to the batter to reach a consistency you are comfortable working with.
- Let the batter rest at room temperature for 30 minutes before cooking.
MAKING THE KHEEMA MASALA DOSA
- Take the dosa batter out of the refrigerator and let it sit at room temperature for 30 minutes. Be sure to add the salt, sugar, and water to get the consistency you prefer for the batter.
- Heat a flat non-stick pan on high heat. Once hot, cool it down with cold water. This can be done by 1. placing the pan under cold running water or 2. using a towel soaked in cold ice water and wiping the pan NOTE: this has to be done between each dosa
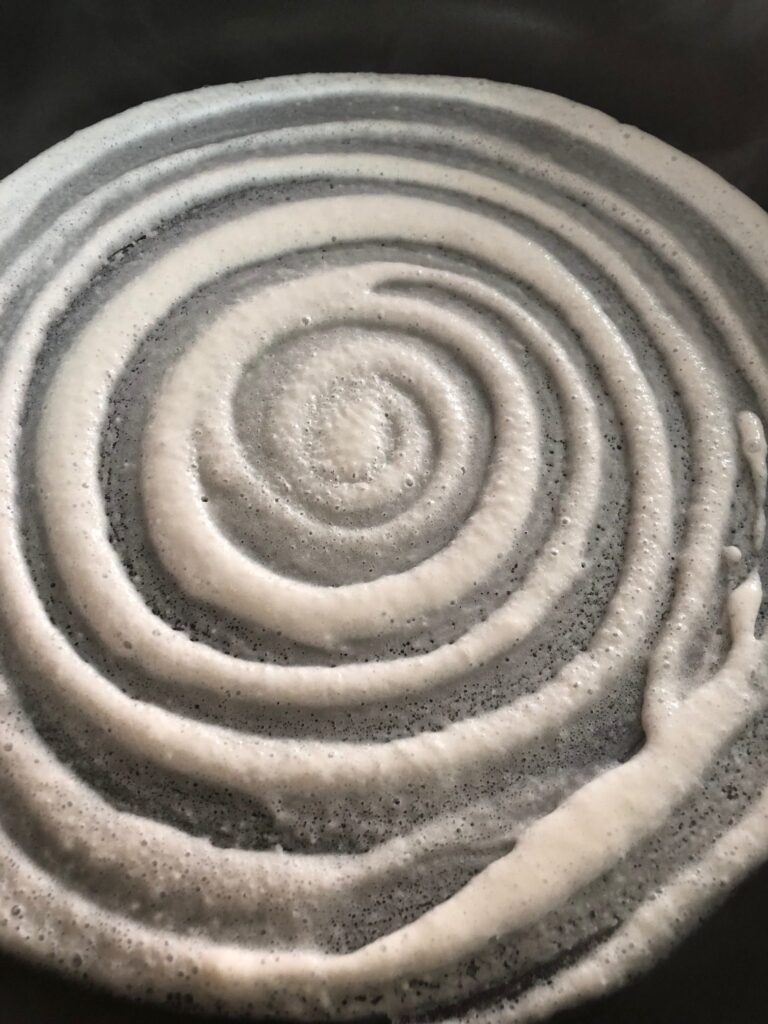
- Place the pan back on the stove (medium-high heat) and pour batter into the middle of the pan. Wait a few seconds and then using a utensil with a small scoop to spread the batter outwards in a circular motion making round ridges as you continue to spiral.
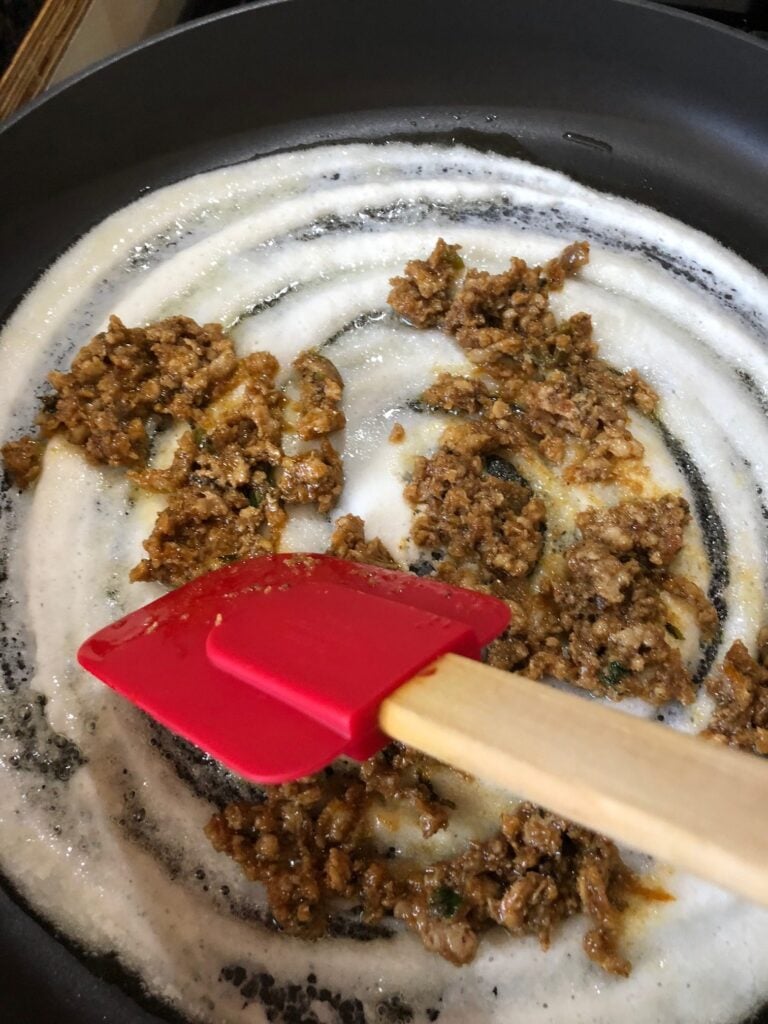
- Once the batter starts to dry out on top, take a stick of butter and dab it on the dosa so it is evenly distributed. You can add oil as well if you prefer. The dosa will peel on its own, do not worry. If anything you can help it peel on one edge.
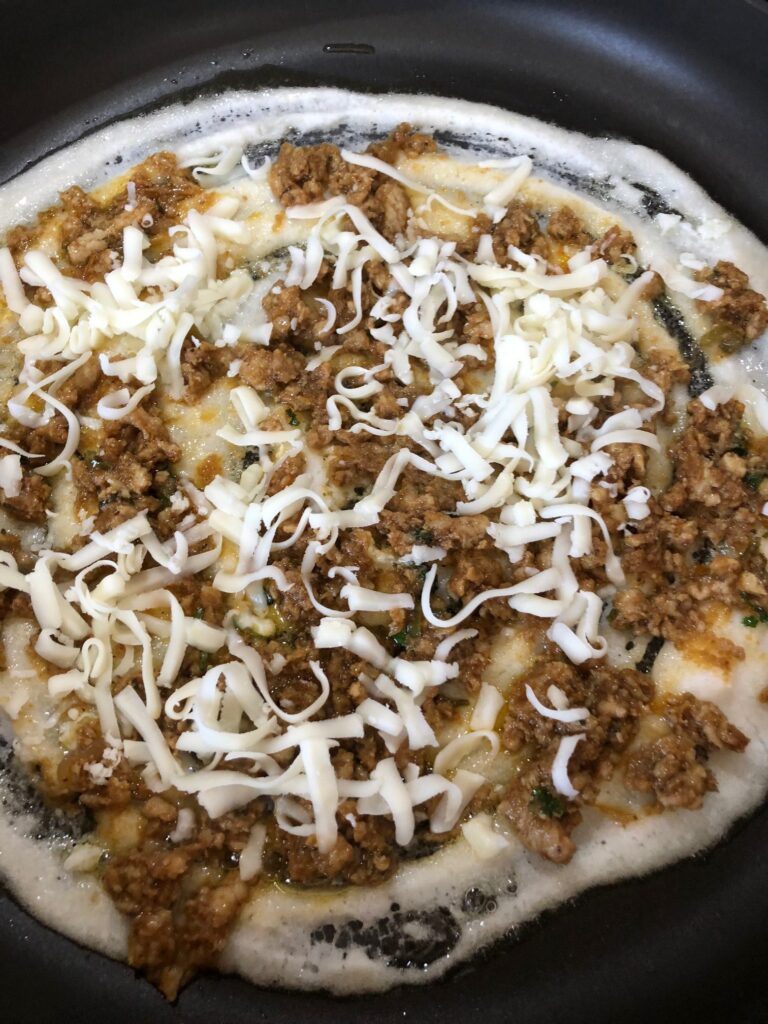
- Spread your dosa filling on the dosa and let it cook for an additional minute or so with the stuffing on top. You can use my Chicken Kheema Recipe as an option. Add cilantro, cheese, onions, tomatoes, and green chilis as an additional topping.
- Serve and enjoy with chutney and sambar.
Give these a try…
- Surati Khaman Dhokla Recipe
- Bharela Marcha - Stuffed Bullet Chillies
- Gujarati Kichdi an Everyday Comfort Food

Fail-Proof Kheema Masala Dosa
Ingredients
MASALA DOSA BATTER
- ¼ cup urud daal
- ¾ cup jasmine rice
- ½ teaspoon fenugreek seeds
- ¾ teaspoon sugar (add after the batter is complete)
- salt (add after the batter is complete), I add about ½ tbsp
- water
- dosa filling ingredients (cheese, kheema, cilantro, etc)
CHICKEN KHEEMA
- Recipe is linked below
Instructions
HOW TO MAKE THE DOSA
- Wash the fenugreek seeds, urud daal, and rice three times and then soak for about 6 hour in cold water.
- After about 6 hours, drain the water that was soaking the fenugreek seeds, lentils, and rice. DO NOT WASH, just drain the water it was soaking in.
- Using a belnder, such as a Blend Tec or Vitamix, blend the fenugreek seeds, urud daal, and rice mixture using just enough water to allow it to blend/mix. How much water to use? I fill the blender with water only to a point where half of the mixture is covered in water.
- Blend until the contents are very pureed and smooth to touch.
- Pour the batter in the Instant Pot and mix the batter with one of your hands for about 3-5 minutes. The warmth of your hand will help start the fermenting process.
- Now, close the Instant Pot lid, place it to sealing where no air comes out, and push the yogurt button. Set it to 12 hours.
- Check on the batter after 8 hours to see if it fermented. In some cases it may take an extra hour or so which is why I recommend setting the Instant Pot to 12 hours.
- Once fermented, you can add sugar and salt to the batter and immediately make dosa or refrigerate until you are ready to use it. Optional- add water to the batter to reach a consistency you are comfortable working with.
- Let the batter rest at room temperature for 30 minutes before cooking.
MAKING THE KHEEMA MASALA DOSA
- Take the dosa batter out of the refrigerator and let it sit at room temperature for 30 minutes. Be sure to add the salt, sugar, and water to get the consistency you prefer for the batter.
- Heat a flat non-stick pan on high heat. Once hot, cool it down with cold water. This can be done by 1. placing the pan under cold running water or 2. using a towel soaked in cold ice water and wiping the pan NOTE: this has to be done between each dosa
- Place the pan back on the stove (medium-high heat) and pour batter into the middle of the pan. Wait a few seconds and then using a utensil with a small scoop to spread the batter outwards in a circular motion making round ridges as you continue to spiral.
- Once the batter starts to dry out on top, take a stick of butter and dab it on the dosa so it is evenly distributed. You can add oil as well if you prefer. The dosa will peel on its own, do not worry. If anything you can help it peel on one edge.
- Spread your dosa filling on the dosa and let it cook for an additional minute or so with the stuffing on top. You can use my Chicken Kheema Recipe as an option. Add cilantro, cheese, onions, tomatoes, and green chilis as an additional topping.
- Serve and enjoy with chutney and sambar.
Recipe Courtesy of The Curry Mommy
Vegan Indian Zucchini Roti Recipe
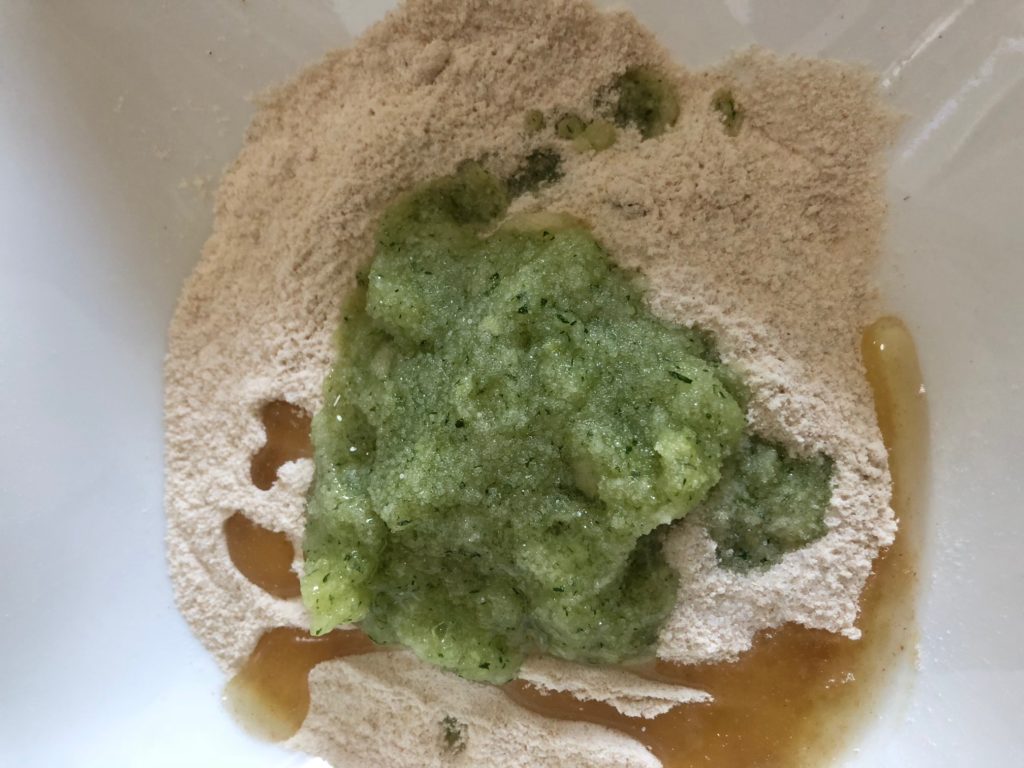
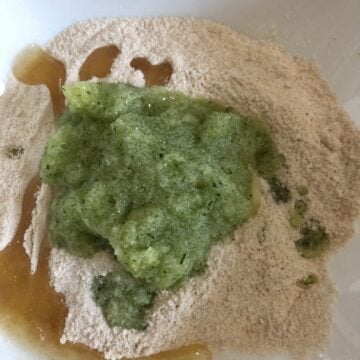
A delicious combination of fresh zucchini mixed with whole wheat flour make this roti recipe a family friendly everyday pick. With options to add extra nutrition such as avocado oil, flax seeds, and gluten free flour this recipe is one to be on repeat once you have tried it. The optional gluten free zucchini bread recipe is great for celiac or gluten sensitive individuals.
Indian zucchini roti is a recipe we use weekly in our house. With many variations of roti I make, personally this one has got to be my favorite. The addition of a vegetable that is not too pungent in flavor but still increases the veggie number for my family on a daily basis is what keeps me making them over and over again. Do try these for the pickiest eater in your life.
What kind of flour to use for Indian zucchini roti?
Gluten free Zucchini Bread / Roti
To make this a gluten free zucchini bread or roti recipe you can use your favorite gluten free flours. Try Bobs Red Mill which can be found at health food stores or even your local grocery store sometimes.
Kid friendly vegetable roti recipe
If you have kids who might question the color change of a roti then this is definitely a recipe for you. With the addition of certain veggies, the roti might change its color and flavor. This is one recipe that I can honestly say is very subtle and not too drastic with changes it may bring to your picky eater.
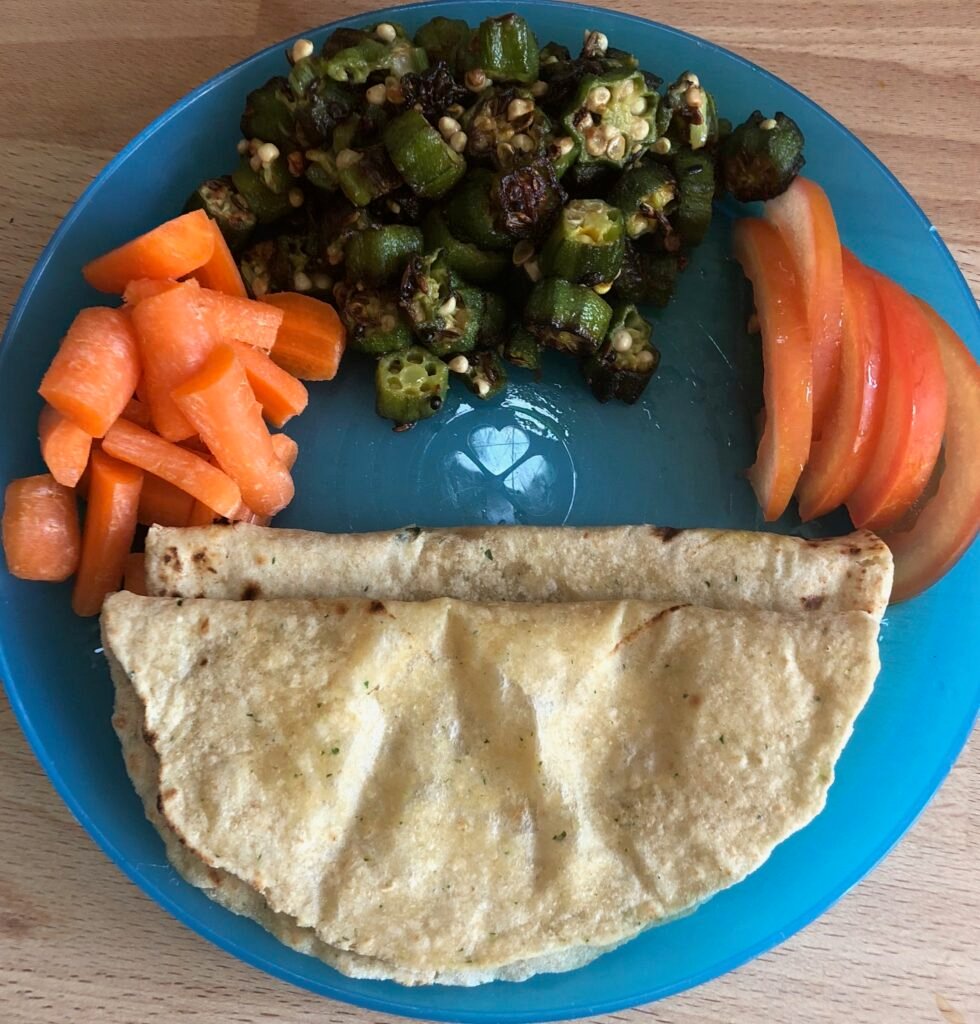
What to serve Indian Zucchini roti with?
I love serving it with okra , sprouted mung beans , or butter chicken . My kids love each and ever single one of those sides and will never say no to any of it. Be sure to give it a try and let me know what your family thinks.
What else can I eat with roti?
I use these roti for many different foods which range from Mexican dishes, Italian meals, and Indian dinners. You can make quesadillas, enchiladas, pizza, or serve it as a naan replacement. Indian Zucchini roti is definitely a great way to get extra nutrition into your kids and I can definitely say you will not be disappointed.
Other favorite roti recipes
Find other roti recipes including Avocado and Carrot variations on my site as well.
Step by Step Instructions for Indian Zucchini Roti
Indian Zucchini Rotli Recipe
📖 Recipe
Indian Zucchini Roti Recipe
Ingredients1x2x3x
- ▢ 1 cup whole wheat flour
- ▢ 4 tablespoon pureed zucchini (equivalent to ¼ cup)
- ▢ 2 teaspoon oil
- ▢ ¼ cup water
- ▢ optional salt
- ▢ optional ground chia seeds
- ▢ optional ground flax seeds
- ▢ dusting all purpose flour
Instructions
- Mix all ingredients together. I like to use THIS ground flax seeds and THIS ground chia seed.
- Divide into 9 sections and form into small balls using the palm of your hands.
- Heat a pan on medium-high heat.
- Dust each with all purpose flour and roll out into a 6" diameter rotli. TIP: the thickness of the rotli can determine its ability to inflate during the cooking process.
- Once rolled out, place the rotli on the hot pan. Wait about 20 seconds and flip over. Wait about 40 seconds and then place the cooler side down over an open flame and let it rise SIDE NOTE: be sure the pan is hot before starting the cooking process.
- Serve as is, topped with ghee, or topped with un/salted butter.
HAPPY EATING FOLKS <3
