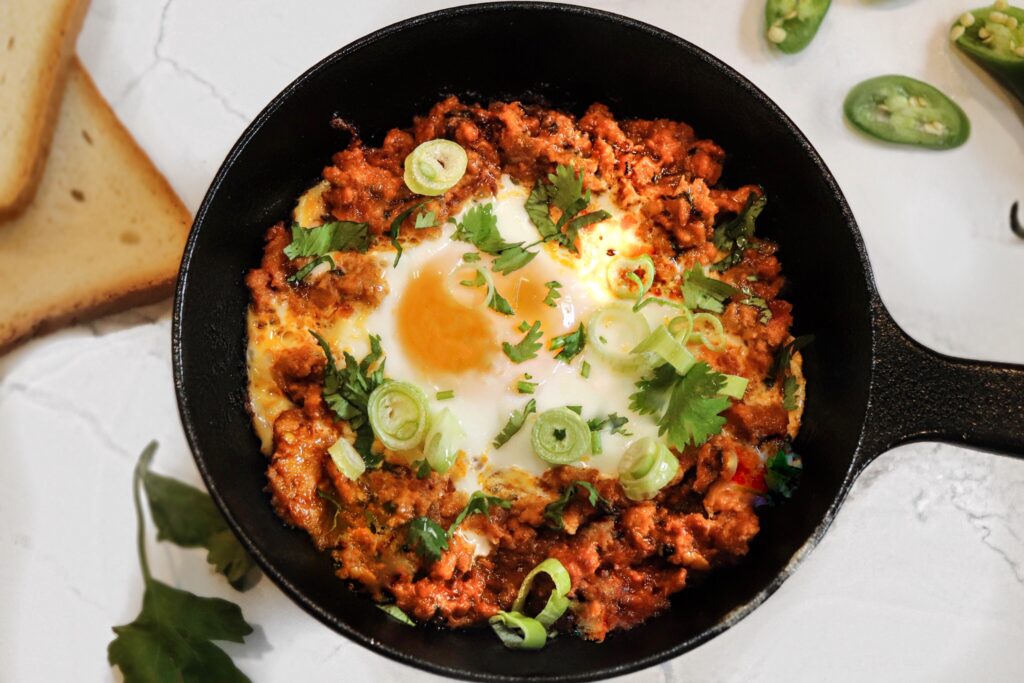
Chicken Shakshuka is a keema shakshuka with meat recipe which is a great Indian Egg Breakfast
Do you like easy meal prep-friendly meals with flavor? Then you must give my chicken shakshuka recipe a try! This chicken and eggs shakshuka for one is easy, delicious, and protein-packed!
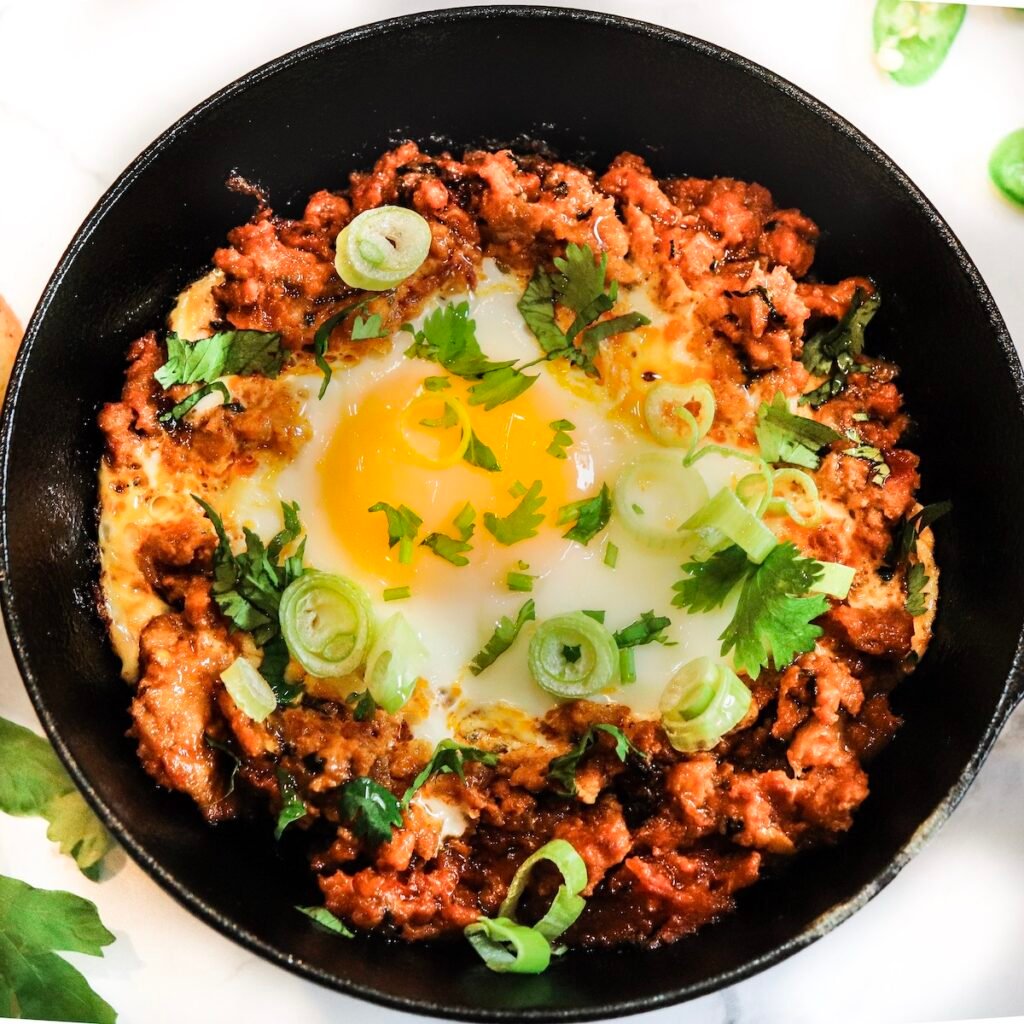
Indian flavored ground chicken breast breakfast with eggs is such a delicious meal. I would like to think that this recipe is exactly why breakfast for dinner is acceptable!
- Ingredients
- Instructions
- Equipment Needed
- Substitutions
- Pair it with…
- 📖 Recipe
- 📖 Recipe
- FAQ
- 💬 Community
Ingredients
- Chicken Keema (preferably made with grouond chicken breast)
- Eggs
- Fresh Cilantro
- Chopped Fresh Chili Peppers
- Green Onions
Instructions
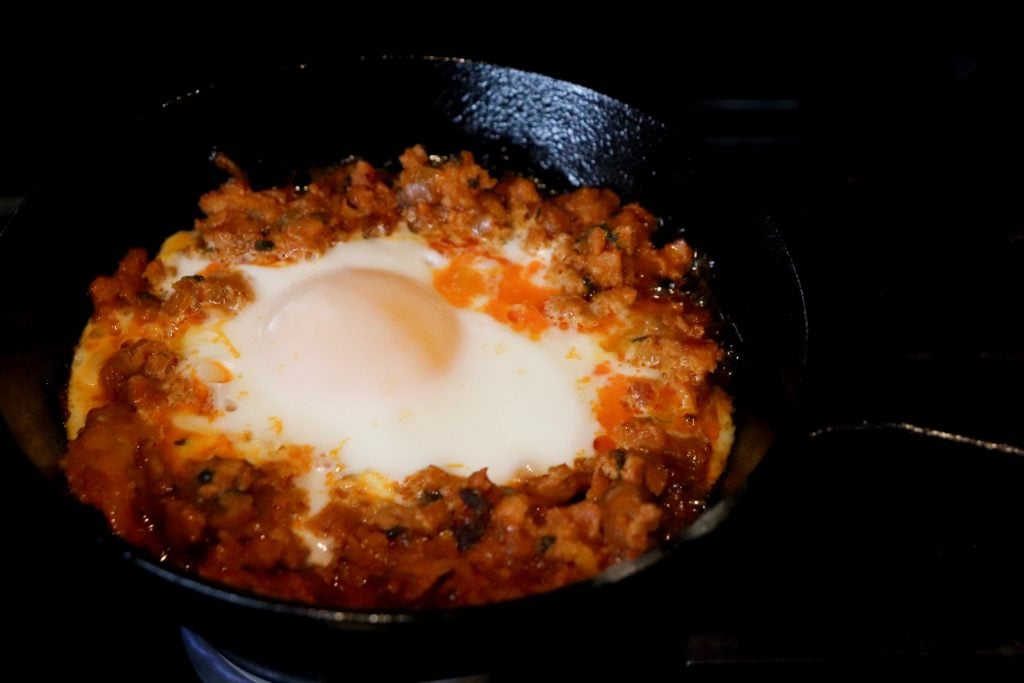
In a medium heated pan, spread the chicken kheema and leave little pockets that reach down to the bottom of the pan.

Crack an egg into each of those pockets. If cooking chicken breast breakfast for one then feel free to crack just one egg.

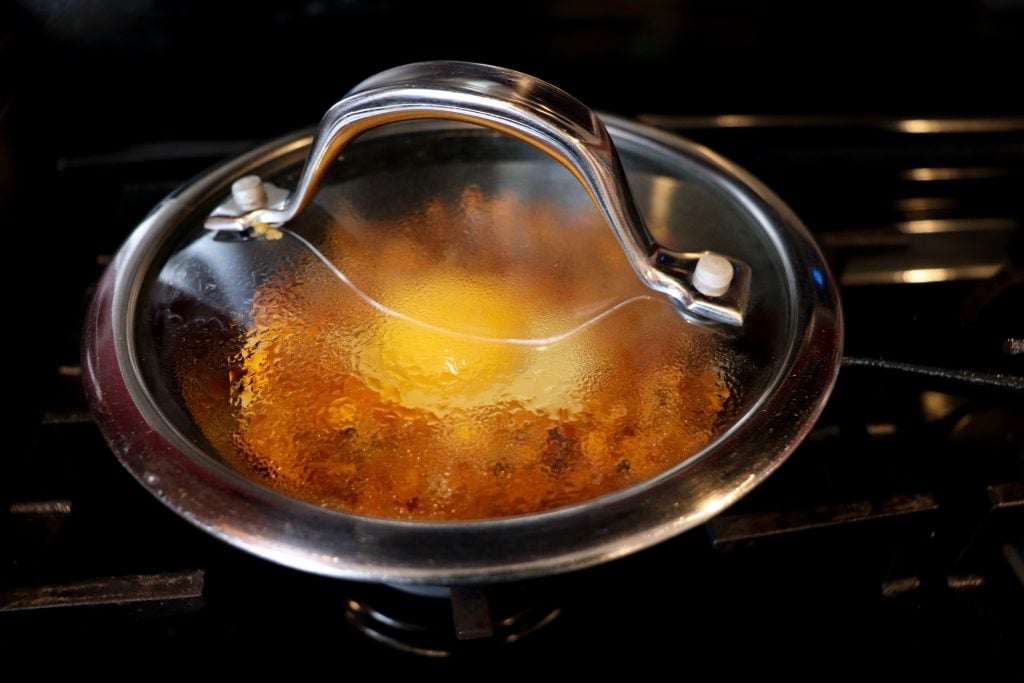
Cover the pan with a lid and let it cook on low.
Remove the lid when desired egg texture has been reached.
Sprinkle fresh cilantro, green onions, and green chili peppers on top

Equipment Needed
- Skillet with a lid
- Spatula
- Cutting Board and Knife
Substitutions
- Chicken Keema - Use egg keema instead
Pair it with…
- Toasted Bread and Butter
- Leftover roti
- Siete brand tortillas for a healthier option
- Chips!
- Chai
📖 Recipe

Chicken Shakshuka - a 5 Minute Recipe (Shakshuka with Meat)
Ingredients1x2x3x
- ▢ 1 pound chicken kheema
- ▢ 4 large eggs
- ▢ fresh cilantro, chopped
- ▢ fresh green onions, chopped
- ▢ fresh chili peppers, chopped
- ▢ lemon, optional
Instructions
- In a flat and wide frying pan spread the kheema.
- Make four little pockets to a point where the bottom of the pan is exposed.
- Crack an egg into each of those pockets
- Cover the pan with a lid and cook until the eggs are cooked to your liking.
- Sprinkle cilantro, green chili peppers, and green onions on top before serving.
Notes
📖 Recipe
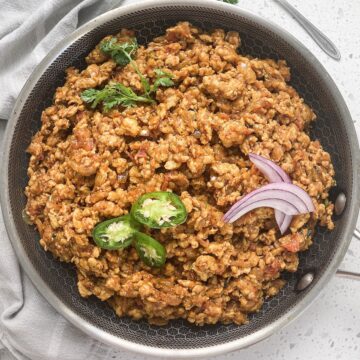
Indian Chicken Kheema Recipe
Ingredients1x2x3x
- ▢ 1 lb ground chicken
- ▢ 1 tablespoon ginger, fresh and grated
- ▢ 1 tablespoon garlic, fresh and minced
- ▢ 1 teaspoon turmeric powder
- ▢ 2 tablespoon coriander powder
- ▢ 1-2 tablespoon garam masala
- ▢ 1 large onion, finely chopped, grated, or food processed
- ▢ 1 large beefsteak tomato, finely chopped
- ▢ 1 tablespoon tomato paste
- ▢ ½ cup water (optional but can help mince the meat if that is the texture preferred)
- ▢ oil
- ▢ salt
- ▢ red chili powder
- ▢ chopped cilantro
Instructions
- Heat pan on medium heat and add oil. Once hot add finely chopped onions and saute until golden brown.
- Once the onions have slightly browned add the tomatoes, garlic, ginger, garam masala, tomato paste, salt, coriander powder, some chopped cilantro (optional), and turmeric.
- Allow the mixture to cook for about 3-5 minutes. At this point you can use a hand blender and puree the mixture if you would like. Then add the chicken. SIDE NOTE: I like to mix the ground chicken to remove the “stringed” meat look before cooking.
- Add water (optional). Using a spatula or a ground meat masher, begin to mash and mix the chicken with the tomato and onion mixture. TIP : flatten/squeeze the meat at the bottom of the pan while mixing if you do not have a meat masher. This will prevent the meat from bulking into large clumps.
- Continue to mix frequently for an additional 7-10 minutes on medium heat.
- Once all of the natural water has evaporated, cook for a few additional minutes so that the oil shines through.
- Garnish with the rest of the cilantro and serve.
- Enjoy as a taco stuffing, with wraps, as is with naan, or on top of pizza.
Nutrition
Yes! I use mini cast iron pans from Bed Bath and Beyond. They work great for this recipe or any egg brunch recipe that you want to individualize. My Breville Smart Oven fits 4 cast iron pans with chicken shakshuka at one time.
I place the chicken kheema in bowls and crack an egg on top. The bowl then gets placed in an air fryer for 3-4 minutes at 350 degrees.
Yes! WIth the addition of eggs and chicken breast this is a great meal for high protein diets.

Chicken Shakshuka - a 5 Minute Recipe (Shakshuka with Meat)
Ingredients
- 1 pound chicken kheema
- 4 large eggs
- fresh cilantro, chopped
- fresh green onions, chopped
- fresh chili peppers, chopped
- lemon, optional
Instructions
- In a flat and wide frying pan spread the kheema.
- Make four little pockets to a point where the bottom of the pan is exposed.
- Crack an egg into each of those pockets
- Cover the pan with a lid and cook until the eggs are cooked to your liking.
- Sprinkle cilantro, green chili peppers, and green onions on top before serving.
Notes
Recipe Courtesy of The Curry Mommy

Indian Chicken Kheema Recipe
Ingredients
- 1 lb ground chicken
- 1 tablespoon ginger, fresh and grated
- 1 tablespoon garlic, fresh and minced
- 1 teaspoon turmeric powder
- 2 tablespoon coriander powder
- 1-2 tablespoon garam masala
- 1 large onion, finely chopped, grated, or food processed
- 1 large beefsteak tomato, finely chopped
- 1 tablespoon tomato paste
- ½ cup water (optional but can help mince the meat if that is the texture preferred)
- oil
- salt
- red chili powder
- chopped cilantro
Instructions
- Heat pan on medium heat and add oil. Once hot add finely chopped onions and saute until golden brown.
- Once the onions have slightly browned add the tomatoes, garlic, ginger, garam masala, tomato paste, salt, coriander powder, some chopped cilantro (optional), and turmeric.
- Allow the mixture to cook for about 3-5 minutes. At this point you can use a hand blender and puree the mixture if you would like. Then add the chicken. SIDE NOTE: I like to mix the ground chicken to remove the “stringed” meat look before cooking.
- Add water (optional). Using a spatula or a ground meat masher, begin to mash and mix the chicken with the tomato and onion mixture. TIP : flatten/squeeze the meat at the bottom of the pan while mixing if you do not have a meat masher. This will prevent the meat from bulking into large clumps.
- Continue to mix frequently for an additional 7-10 minutes on medium heat.
- Once all of the natural water has evaporated, cook for a few additional minutes so that the oil shines through.
- Garnish with the rest of the cilantro and serve.
- Enjoy as a taco stuffing, with wraps, as is with naan, or on top of pizza.
Nutrition
Recipe Courtesy of The Curry Mommy
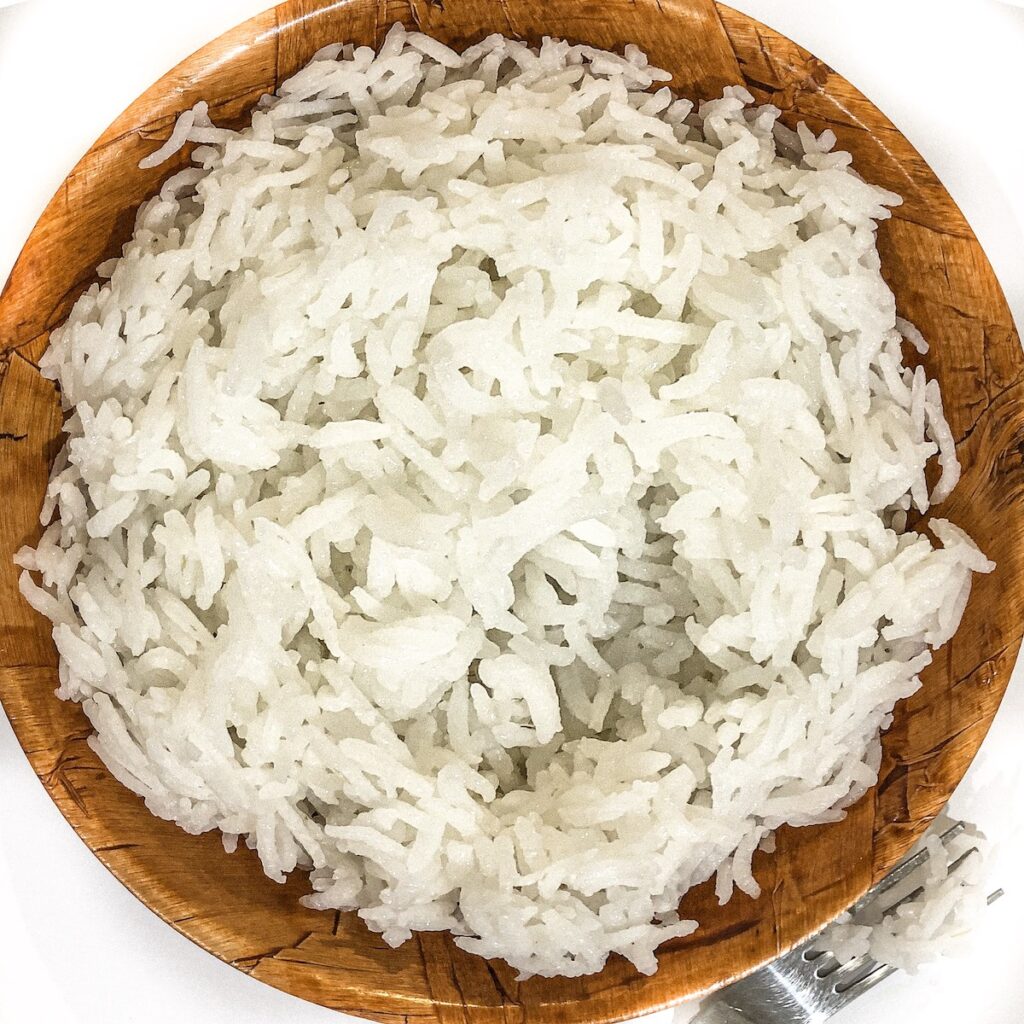
How to make Basmati Rice in an Instant Pot
Let me help you perfect a simple rice recipe! This failproof recipe for Instant Pot Basmati Rice is perfect for fried rice, biryani, or a side dish. Plus, it can be ready within minutes.
Recipe on repeat- Enjoy it with one of my tasty curry recipes like Butter Chicken , Desi Tapelu Chicken , or use it to make Indian Fried Rice .
- Ingredients
- Instructions
- Equipment
- Substitutions
- Variations and Health Tips
- Top Tips
- Serve it with…
- 📖 Recipe
- FAQ
- 💬 Community
Ingredients
- Basmati Rice
- Water
- Salt
Instructions
Place the rice in the inner Instant Pot steel pot and wash the rice until the water is almost clear.
Put the steel pot inside of the Instant Pot. Add salt and close the lid.
Set the Instant Pot to 5 minutes and close the vent so no air escapes during the cooking process.
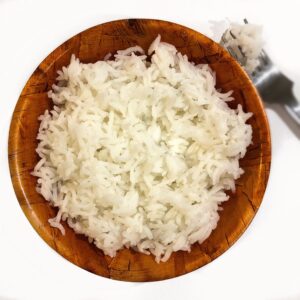
Once the Instant Pot is done cooking, let it cool down, and then open the lid. Fluff the rice and enjoy!
Equipment
- Instant Pot
- Measuring Cup
Substitutions
If it is hard to find basmati rice, then feel free to use a variation you have in your pantry such as jasmine rice or sushi rice.
- Basmati Rice - this jasmine rice is the one I recommend
Variations and Health Tips
- Organic- limited pesticides are used when growing the rice with organic guidelines.
- India Grown - the least amount of arsenic is found in Indian grown rice. I prefer to purchase organic and Indian grown for my family or Lundenberg
- US Grown - depending on where it was grown, the rice might have chemicals such as arsenic which is a known carcinogen.
Top Tips
- Use equal parts water to rice ratio for al-dente rice. Perfect for biryani or fried rice
- Wash the rice thoroughly before cooking
- Add oil if you want to have separate pieces of rice strands (think Afghani Pilaf)
- Add a little more water if you prefer more cooked rice.
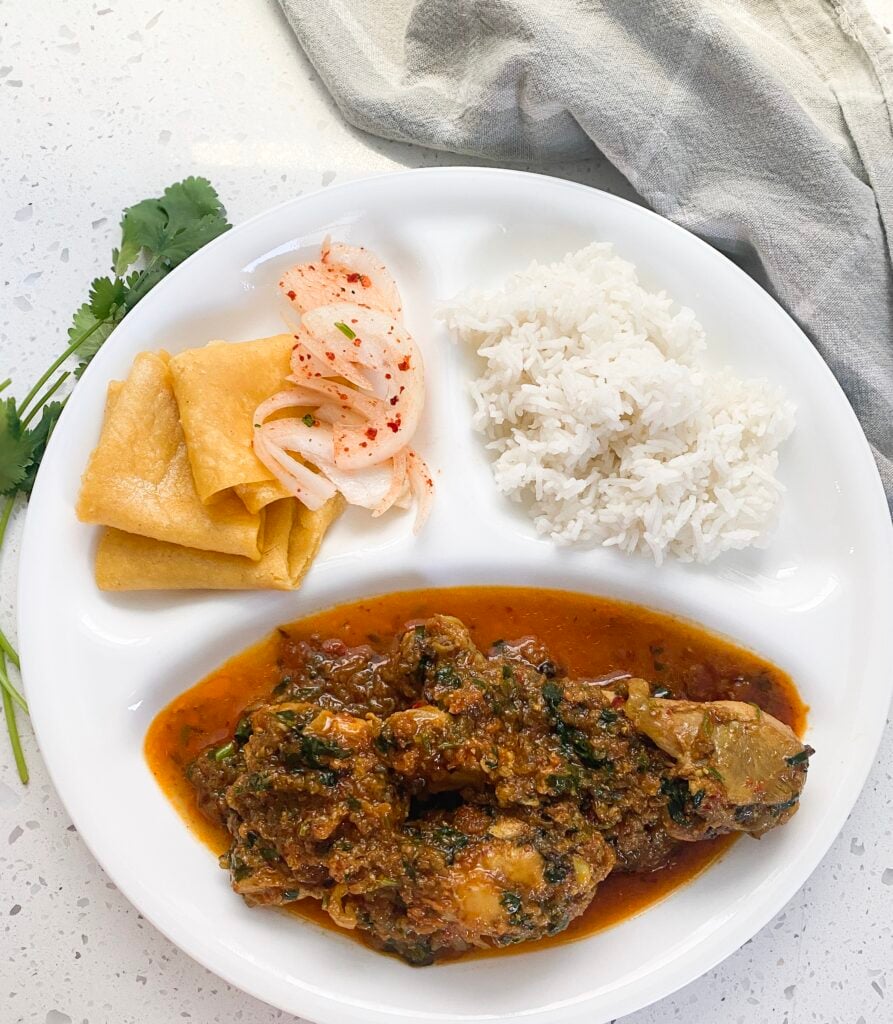
Serve it with…
- Jeera Chicken - a quick 10 minute recipe
- Chana Masala - creamy garbanzo or chickpeas
- Paneer Chili - paneer with asian flavors
- Desi Chicken - A village chicken curry (pictured above)
- Dhaba Chicken - Simple and easy Instant pot Chicken
- Mint Chicken - Burmese inspired chicken recipe
📖 Recipe
Instant Pot Basmati Rice
Equipment
- ▢ Instant Pot
- ▢ Measuring Cup
Ingredients1x2x3x
- ▢ 1 cup well rinsed white rice
- ▢ 1 ¼ cup water
- ▢ salt (optional)
- ▢ oil (optional)
Instructions
- Place the ingredients in the Instant Pot.
- Optional: Add oil if you prefer the rice to be cooked in separate kernels.
- Close the lid and set the vent to sealing so no air is released during the cooking process.
- Set the Instant Pot to 5 minutes on high pressure.
- Let the Instant Pot cool completely. Hence, the valve will drop.
- Once cool, open the lid slowly and fluff with a fork.
- ENJOY!
Notes
It remains the same. The Instant Pot will take longer to come up to steam and longer to cool down, but the cooking time still remains the same.
I don’t recommend it (unless you are making rice for daal bhaat) because it alters the flavor of the recipe that you might decide to make with the leftover rice. Hence, Chinese fried rice (with ghee might be a little off).
Skip the salt if you plan on using the rice to make fried rice or anything with extra sodium such as soy sauce or bouillon.
Before! I highly recommend adding it before the cooking process to get the right texture. Additional ghee can be added on top during serving.
My kids eat the rice this same way almost every day! No substitutions needed.
